Go to Fun_Math Content Table
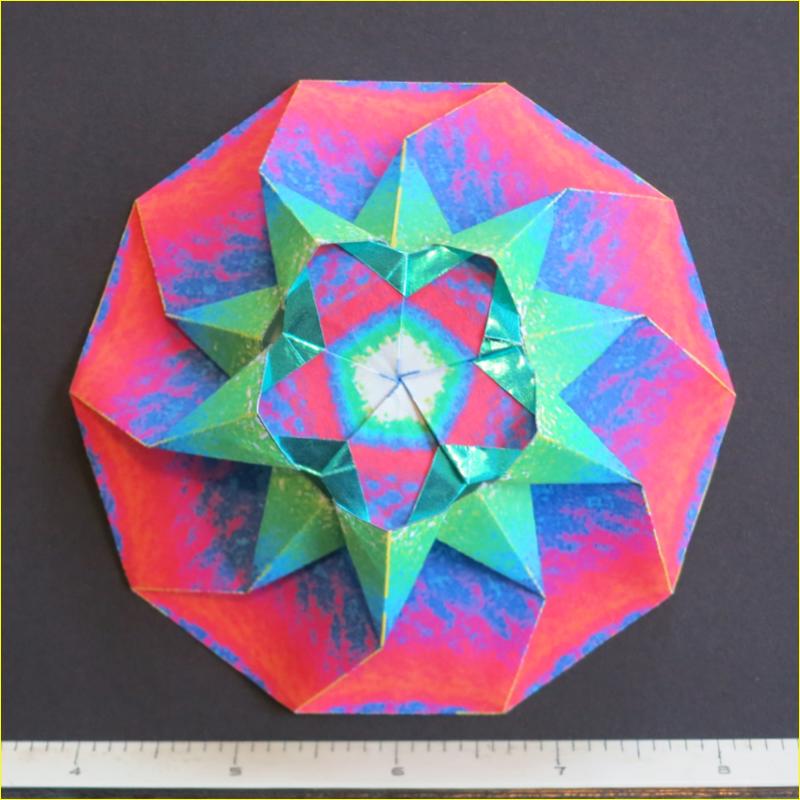
Polygonal Mandala - Origami Twist Fold
Polygonal Mandala ( Origami Twist Fold )
This is written as a classnote for EBOC 2016 in UC Berkeley.
The necessasry diagram sheets will be prepared for the attendants,
For the general readers who want to try the process described below,
the images can be downloaded from the author's web site
decagon mandala .
(URL: http://www.takayaiwamoto.com/origami_note/eboc/eboc-2016.html )
Then print out 2 sheets of papers using your favorite printer.
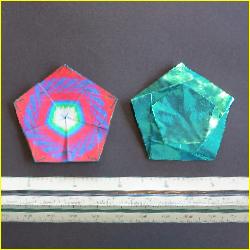
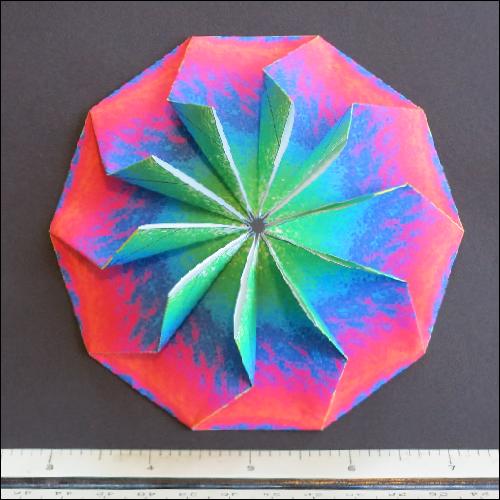
Decagon Mandala - Decagon Example
The Objective: Using 2 sheets of polygon diagram overdrawn on top of the selected digital image,
the beautiful "Mandala" will be created.
The origami technique of twist fold, squash fold and inside reverse fold will be used.
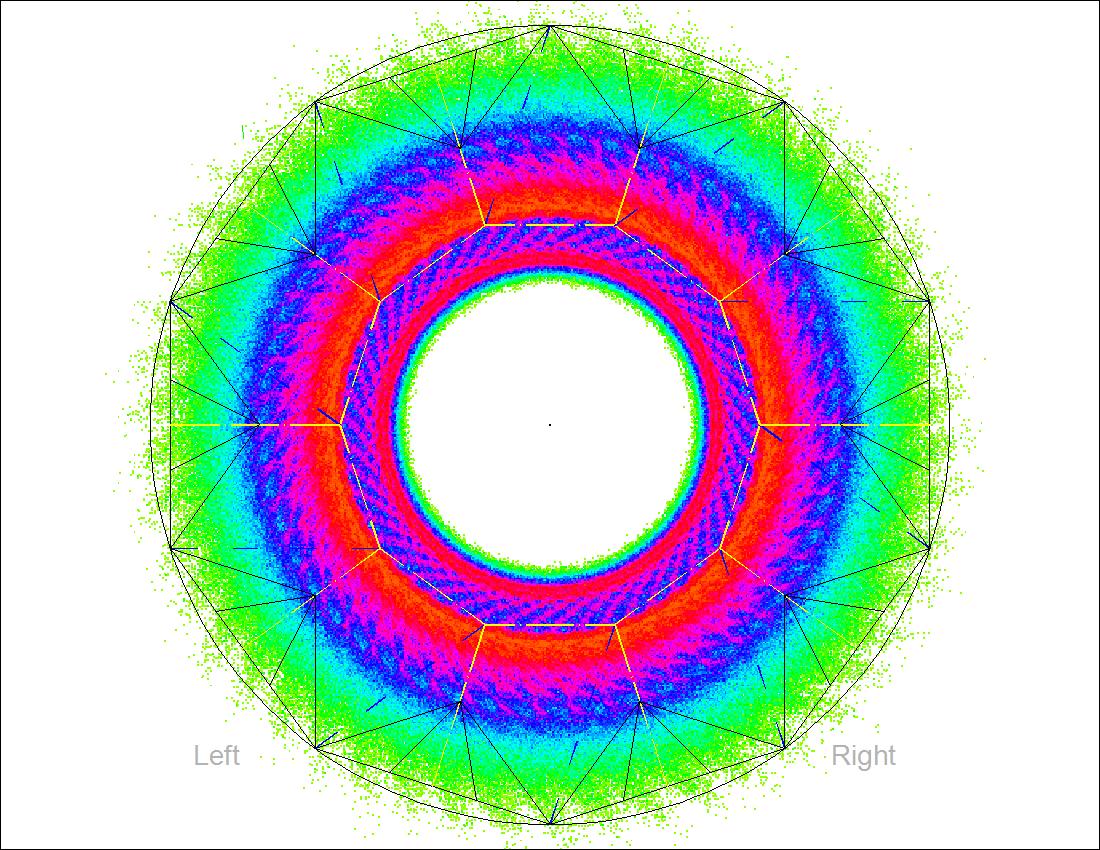
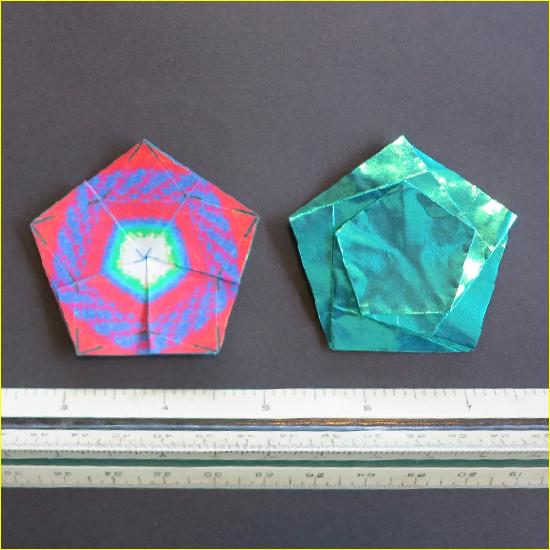
Step 1: Print out diagrams for outer and inner pieces , then cut out the periphery.
Print out Fig 1-1 and Fig 1-2 on 8.5 X 11 inches standard printer papers.
In this example, the second paper is the green metalic origami paper cut 8.5 inches wide.
It requires a bit of effort to accomplish this because you may need a printer with direct
paper feeding capability, like Epson Artisan 1430. The popular printer tends to jam the paper.
Step 2: Score the fold lines by a used up ball point pen cartridge
Score all red, blue and black lines.
There are 50 lines on outside base and ,30 on the inner star.
Assuming approximately 10 seconds for one scoring action, the whole process may take around 15 minutes.
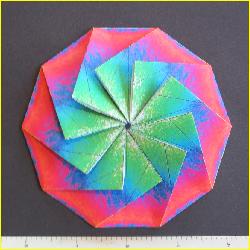
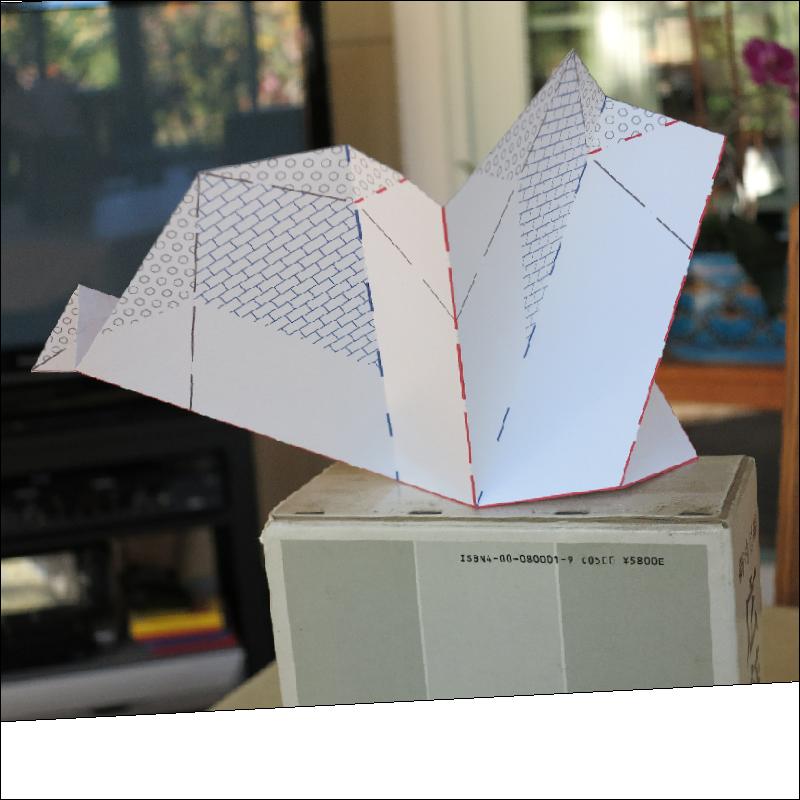
Step 3: Fold the outside base
Step 3-1:Fold the outside base following the standard folding rules. (Fig 3-1)
(1) red line : mountain fold
(2) blue line: valley fold
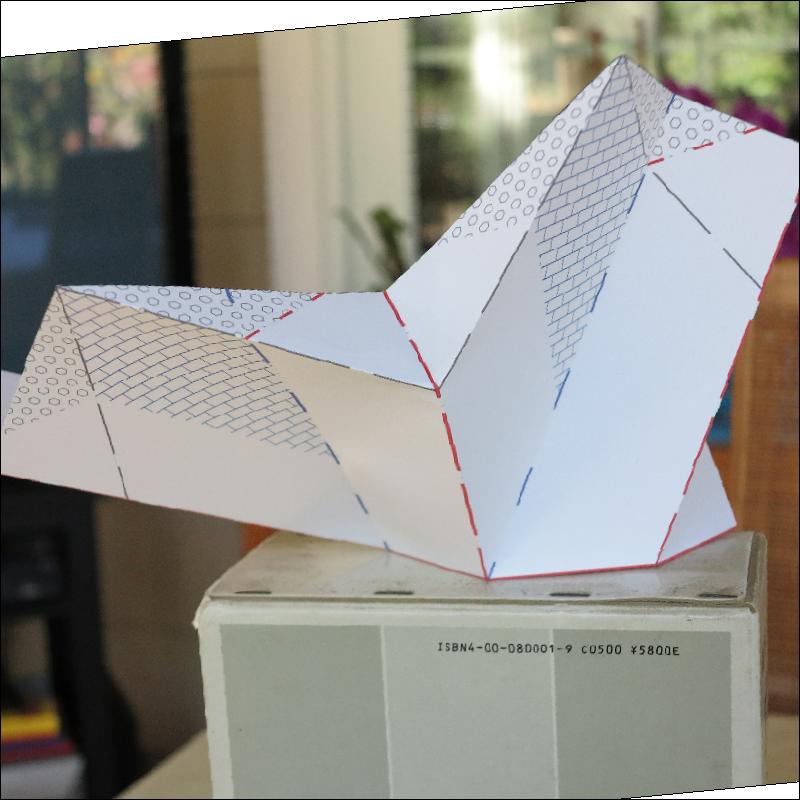
Step 3-2:Make all flaps stand up. (Fig 3-2)
Step 3-3:Apply "squash fold" to all standing flaps. (Fig 3-3)
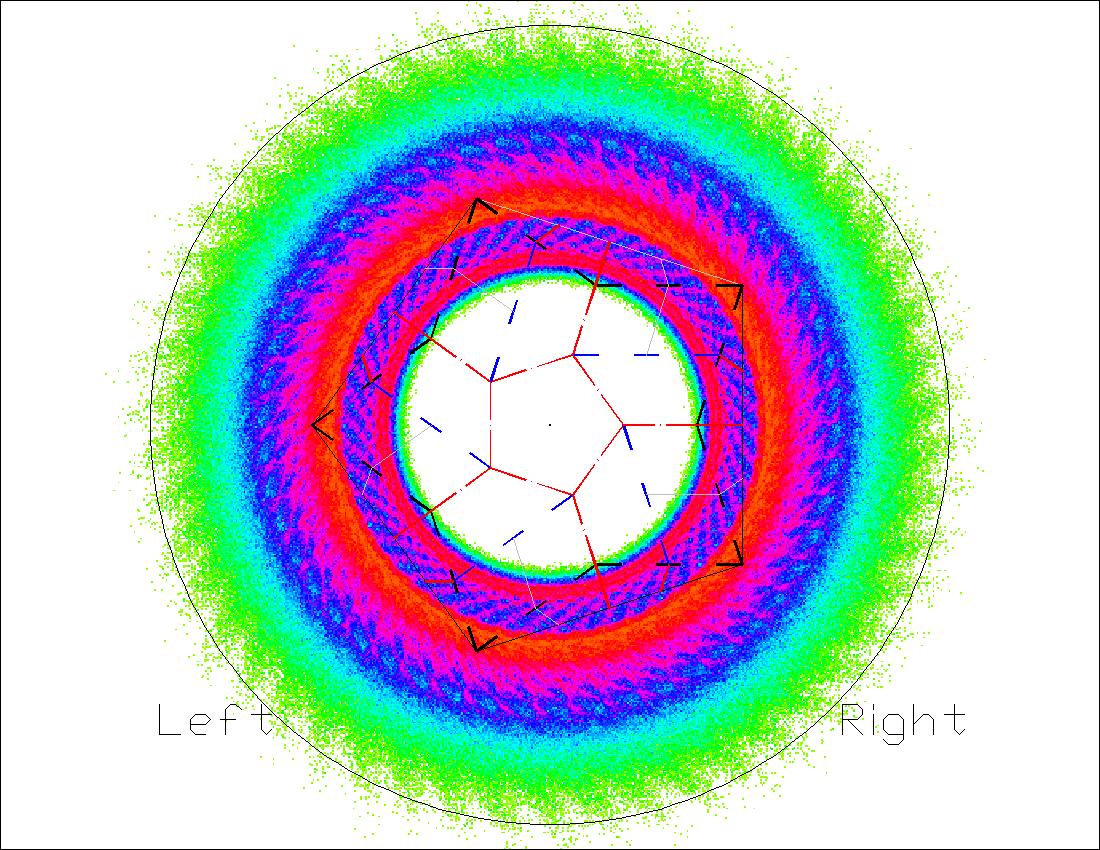
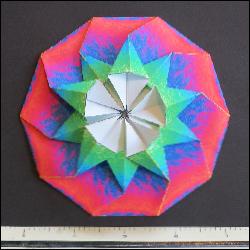
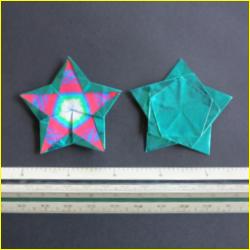
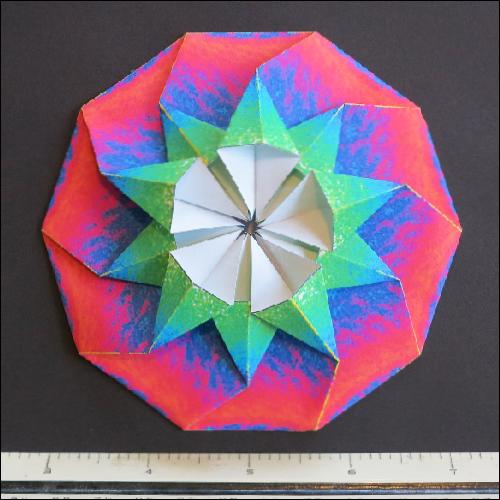
Step 4: Fold the inside pentagon star
For clarity purpose, both front & back side views of each step are shown .
Step 4-1:Fold the inside pentagon following the folding rules below. (Fig 4-1)
Reverse the standard folding rule.
(1) red line : valley fold
(2) blue line: mountain fold
Step 4-2:Apply the "Inside Reverse Fold" to 5 flaps of pentagon of Fig 4-1 (Fig 4-2)
Note about "Reverse Inside Fold"
This is a common folding process often used in making star shaped polygon.
The illustration is for Reverse Inside Fold used in making 7-pointed star,
but the idea is the same. (The following 2 figures)

First open the closed flap section.
After making 3 lines of mountain fold, close the flap slowly.
Final Step : inserting the pentagon star on top of the decagon base
References
Go to
Fun_Math Content Table
All questions/complaints/suggestions should be sent to takayaiwamoto
Last Updated Sep 03 ,2016
Copyright 2006 Takaya Iwamoto All rights reserved.
